Initial setup
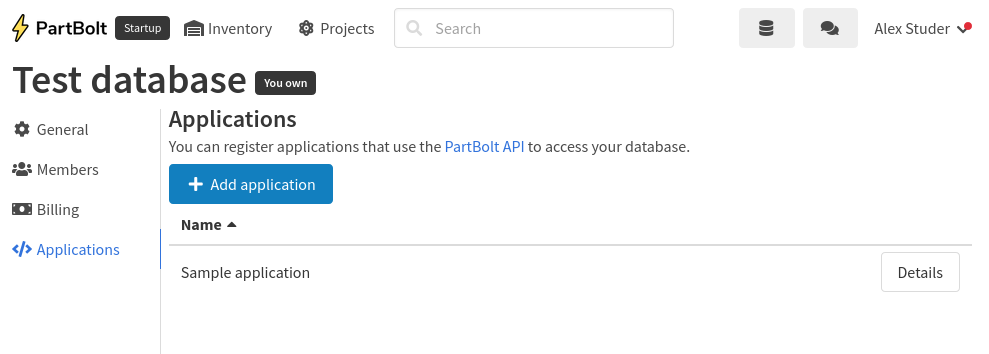
The first step in using the PartBolt API is to create an application. This can be done by anyone with admin permissions on the database by going to the database settings and selecting Applications. From there, you can press Add application and enter a name. There are no limits on how many applications you can have.
Once you’ve created an application, you’ll need to add a token. This can be done in the application’s settings. Each token has one or more scopes, which control what the token is capable of doing. For security purposes, you should try to give an application the fewest scopes that it requires to do its job.
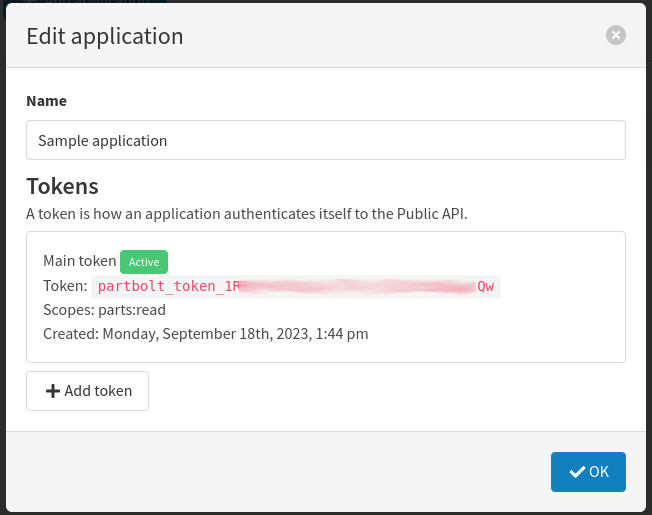
Important: keep your token safe! Your token grants access to all data in your database. Make sure to not leak it publicly; for example, you should avoid committing it to code hosting platforms like GitHub.
Making requests
All requests are made against the base URL https://api-public-v1.partbolt.com. At this time, we do not support CORS (cross-origin resource sharing), but if this is necessary for your application, please contact us at [email protected].
Requests must be authenticated. This is done with the token that you got when registering the application. The token should be passed as an Authentication header in your request set to the value PartBoltAPI partbolt_token_sample, where partbolt_token_sample would be replaced with the actual token.
You can find a full list of available endpoints on the endpoint reference page. Certain endpoints (for example, parts/get) require one or more parameters to be passed in. Parameters should be passed via the URL query string; for example: parts/get?id=1
Handling responses
In general, successful responses look like so:
{
	"status": "ok",
	"data": {
		/* ... data goes here ... */
	}
}
The details of the data object depend on the endpoint you called. This response will be served with an HTTP 200 status code.
If there was an error, you’ll instead get a response like so:
{
	"status": "error",
	"error": {
		"code": "invalid_params",
		"message": "One or more of the request parameters were invalid.",
		"hint": "The following parameter was invalid: id"
	}
}
This response will be served with a HTTP 4xx or 5xx status code, depending on the specific error.
The error object has the following fields:
code- an error codemessage- a human-readable description of the error code, which you can display to the userhint(optional) - information intended for the developer, to aid debugging
Please note that only the error codes are guaranteed to remain stable. The text of messages and hints may be changed in the future without notice.
A full listing of error codes is available below:
| Code | Message | HTTP status |
|---|---|---|
forbidden |
You don’t have permission to do that. | 403 Forbidden |
internal_server_error |
An internal server error occurred. | 500 Internal Server Error |
invalid_params |
One or more of the request parameters were invalid. | 400 Bad Request |
missing_params |
One or more required parameters were missing from the request. | 400 Bad Request |
not_found |
The requested item could not be found. | 404 Not Found |
over_quota |
That’s not available with your plan. | 402 Payment Required |
token_invalid |
The provided token was not valid. | 401 Unauthorized |